
Caring for Your Vinyl: Cleaning and Maintenance Tips
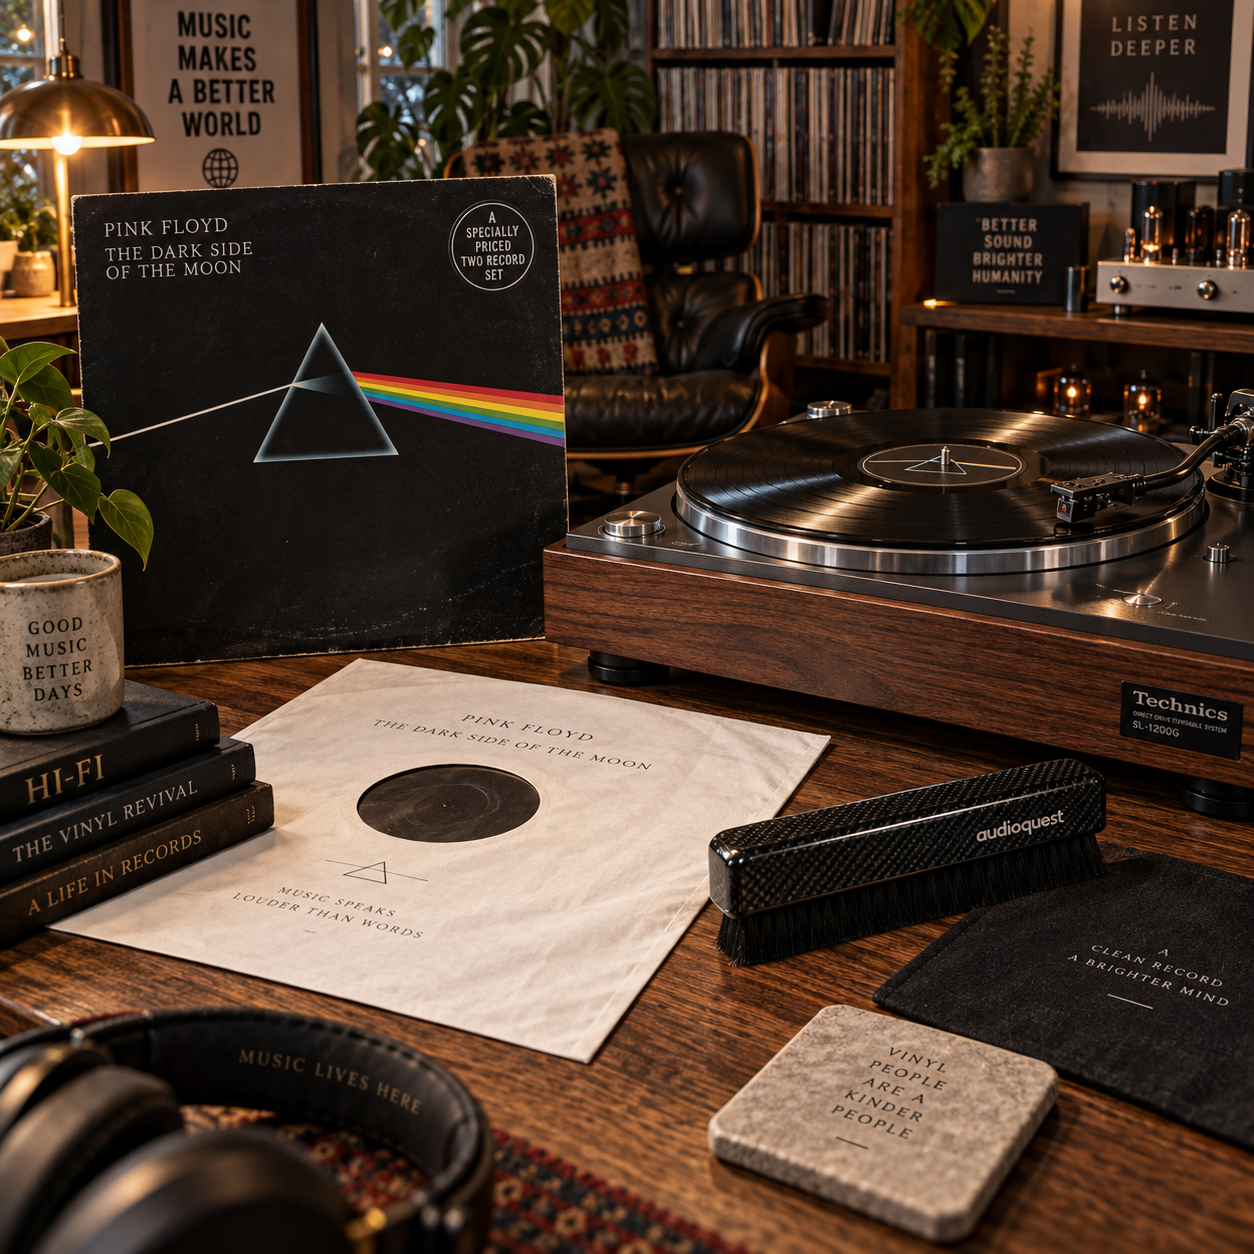
Vinyl records can deliver years of enjoyable listening when you protect them from dust, fingerprints, scratches, static electricity, moisture, and heat. Good care does not require an expensive collection of equipment. A careful handling habit, a carbon-fiber brush, suitable sleeves, and occasional deep cleaning will prevent most avoidable damage.
Why Proper Vinyl Care Matters
Proper vinyl care keeps record grooves free from abrasive debris and helps preserve reliable playback. Dust and oily fingerprints can create clicks, pops, distortion, and unnecessary stylus wear, while poor storage can cause warping or sleeve damage.
Every record groove is a delicate physical path that the turntable stylus follows. Loose grit can act like sandpaper when pressed into that path. Skin oils also attract dust and may leave a residue that routine brushing cannot remove. A scratched groove may produce permanent noise, and cleaning cannot restore vinyl that has been physically damaged.
Static electricity creates another problem. A statically charged record attracts airborne particles and can cling to paper sleeves. Excess moisture, direct sunlight, radiators, and hot attics can deform a record over time. For long-term preservation, cleaning matters, but the surrounding environment matters just as much.
Think of vinyl maintenance as a three-part system: remove contamination, reduce contact damage, and control storage conditions. Choosing aggressive cleaning for speed means accepting a higher risk of residue, label damage, or surface marks. Gentle, repeatable care is usually the safer strategy.
How to Handle Vinyl Records Safely
Handle vinyl records by the outer edge and the center label, never by the playing surface. This simple habit prevents fingerprints and reduces the amount of oil and dust transferred to the record grooves.
Before removing a record, wash and dry your hands. Hold the disc with your thumb on the edge and one or two fingers on the label area. Avoid touching the glossy grooved surface, even when you are in a hurry. When returning a record to its sleeve, guide it in slowly rather than forcing it against the opening.
Use a clean, soft surface during inspection or cleaning. A dedicated record-cleaning mat is useful because it keeps the playing side away from grit and supports the disc without putting pressure on the spindle hole or label. Never place a record directly on a wooden table, countertop, carpet, or a surface that may contain sand or loose fibers.
- Keep drinks, food, and smoking materials away from the listening area.
- Do not stack loose records on top of one another.
- Return a record to its inner sleeve soon after playback.
- Hold the disc level when carrying it to avoid bending or dropping it.
If a fingerprint appears, resist the temptation to rub it with a dry paper towel. Paper fibers and trapped grit can create fine marks. Use a proper cleaning method instead.
Everyday Dust Removal
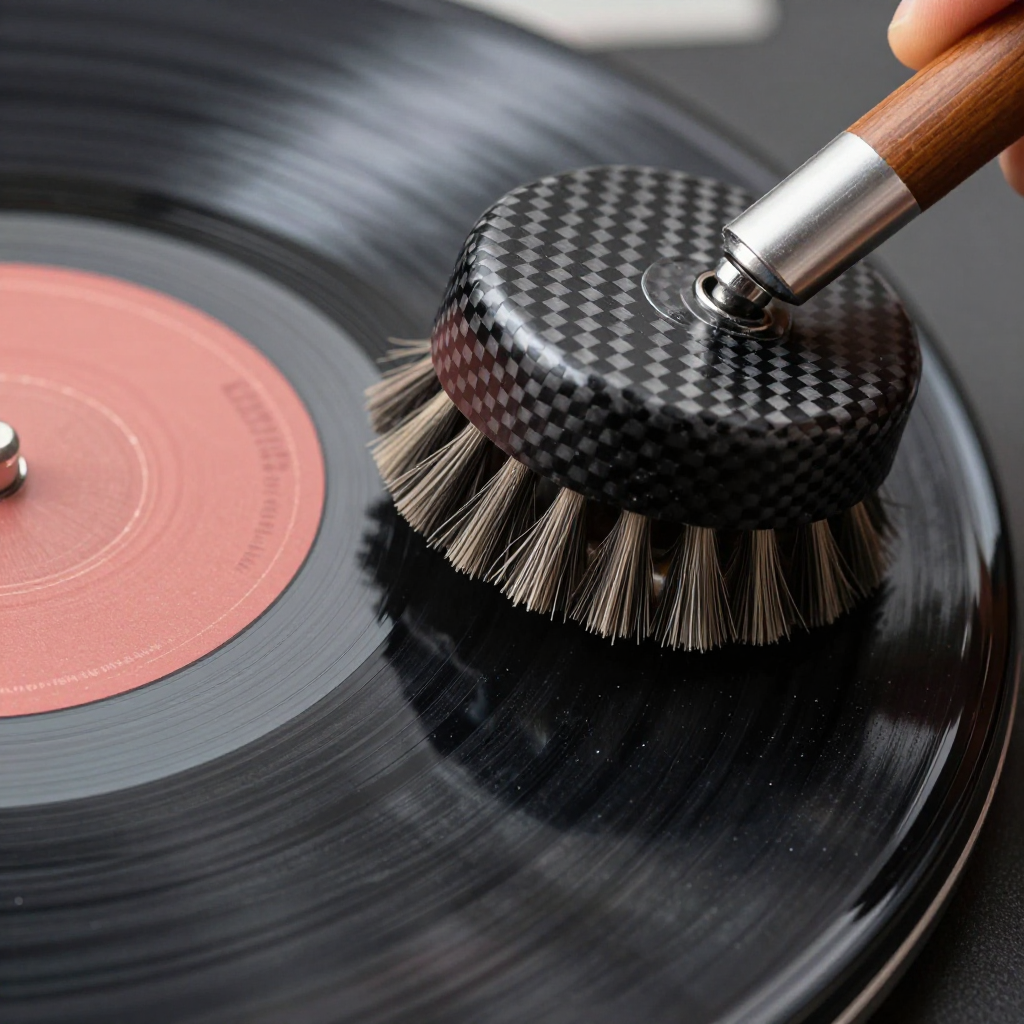
A carbon-fiber brush is the safest everyday tool for removing loose dust before and after playback. Use light pressure and let the brush lift particles from the surface rather than pushing debris deeper into the grooves.
Place the record on the turntable and start it spinning at the correct speed. Touch the carbon-fiber brush lightly to the record, keeping it parallel with the surface. Allow one or two rotations for the bristles to collect dust, then move the brush slowly toward the outer edge. Lift it away only after the debris has reached the edge.
Some carbon-fiber brushes include a grounded handle that can help discharge static electricity. It will not eliminate every static problem, especially in a dry room, but it can reduce the attraction of loose dust. Clean the brush itself according to the manufacturer’s instructions so collected particles do not return to the record.
Brush both sides when needed, particularly before the first play of a record that has been stored for a long time. Routine brushing is for loose surface dust. It will not remove fingerprints, dried residue, mold, or grime embedded in the grooves. Those require a deeper cleaning process.
Deep-Cleaning Vinyl Records
Deep-clean vinyl records with a purpose-made record-cleaning solution, soft materials, and controlled drying. The goal is to loosen residue and lift it away without flooding the label, leaving a film, or grinding particles across the grooves.
A low-risk manual cleaning method
- Place the record on a clean record-cleaning mat or suitable support.
- Remove loose dust with a carbon-fiber brush.
- Apply a small amount of vinyl-safe record-cleaning fluid to a microfiber cloth or the manufacturer-approved applicator. Do not pour liquid directly over the record.
- Wipe in the direction of the record grooves, using gentle, even passes. Avoid scrubbing across the grooves.
- Use a separate clean microfiber cloth, or the rinsing method recommended by the product maker, to remove loosened residue.
- Let the record dry completely in a dust-free position before putting it away.
Follow the solution label carefully. Some fluids are designed to evaporate, while others require a distilled-water rinse. Tap water may contain minerals that dry on the record, so use distilled or deionized water when the product instructions call for rinsing. Keep the paper label as dry as possible; a wet label can wrinkle, stain, or detach.
A record-cleaning machine can make deep cleaning more consistent, especially for a large collection. Vacuum machines remove fluid efficiently, while ultrasonic systems can clean several records with less manual wiping. They also cost more and still require correct fluid, drying, and maintenance. A machine is useful when cleaning many records, but it cannot repair scratches, groove wear, or warping.
Never use window cleaner, disinfectant, furniture polish, alcohol-heavy household mixtures, abrasive pads, or rough towels without clear vinyl-safety guidance. A product that works on glass or plastic equipment may leave a residue or harm the record surface.
Cleaning the Turntable and Stylus
Clean the turntable and stylus regularly because every contaminant at the contact points can reach the record. A dirty stylus can drag dust through the grooves, while a grimy platter or mat can transfer particles to the record’s clean side.
Use a soft, dry cloth to remove dust from the platter, tonearm rest, and turntable surface. Clean the rubber or cork mat according to its material and keep it fully dry before placing a record on it. Do not spray cleaner onto the turntable. Apply any approved product to a cloth instead, keeping liquid away from the motor, bearings, cartridge, and electrical components.
For the turntable stylus, use a stylus brush or manufacturer-approved gel cleaner. Move the brush from the back of the cartridge toward the front, following the direction in which the stylus travels. Never brush from front to back, scrub sideways, or touch the cantilever with your fingers. Turn off the turntable before cleaning and allow the stylus to dry if a wet product is used.
Inspect the stylus under good light. A bent cantilever, chipped stylus tip, or persistent distortion requires professional advice or replacement. Playing records with a damaged stylus can cause more harm than ordinary dust.
Storing Records to Prevent Damage
Store vinyl records vertically in a cool, stable, dry place with protective inner and outer sleeves. Upright storage prevents the weight of a stack from creating pressure that can contribute to warping and sleeve deformation.
Use clean anti-static inner sleeves or high-quality paper sleeves with a protective lining. Replace torn, dusty, or abrasive original sleeves, but keep the original safely if it has historical or sentimental importance. Place the record in its inner sleeve, then position the sleeved record beside the jacket inside the outer sleeve when practical. This can help protect the jacket from seam splits caused by repeated removal.
Choose polyethylene or polypropylene outer sleeves rather than brittle plastic that may scratch or degrade. Keep records away from radiators, windows, exterior walls with condensation risk, and direct sunlight. Stable room conditions are preferable to dramatic temperature swings. A comfortable living-space environment is usually suitable; avoid damp basements and hot lofts.
- Keep records upright and supported, without leaning at a sharp angle.
- Leave enough room to remove a record without squeezing neighboring jackets.
- Avoid overpacking shelves, which puts excessive pressure on sleeves.
- Keep valuable or frequently played records in clean outer sleeves.
Horizontal storage may be acceptable for a short period when records are fully supported and the stack is light, but it is a poor default for a growing collection. The pressure increases as more records are added, and uneven surfaces can promote warping.
Building a Simple Vinyl Maintenance Routine
A practical vinyl maintenance routine combines quick cleaning before playback with deeper care every few months or when a record visibly needs it. Consistency protects records better than occasional intensive cleaning.
Use this maintenance checklist
- Before each play: Check the record for visible dust and use a carbon-fiber brush. Confirm that the platter and mat are clean.
- After each play: Brush away loose particles if needed, then return the record to its inner sleeve and jacket.
- Every one to three months: Inspect frequently played records, sleeves, and the stylus. Deep-clean records with fingerprints, residue, or persistent surface noise.
- When sleeves become dirty or damaged: Replace inner and outer sleeves rather than transferring contamination back to a clean record.
- Twice a year: Check shelf spacing, temperature, sunlight exposure, and signs of warping, mold, or moisture.
Use a simple decision rule: loose dust means brush, oily residue means deep-clean, and physical damage means inspect rather than scrub harder. If playback noise remains after careful cleaning, the cause may be scratches, groove wear, static, cartridge alignment, tracking force, or a worn stylus.
The most common maintenance mistakes are rushing the wipe, using too much fluid, storing records tightly, and cleaning a stylus with the wrong motion. Each comes from trying to save time, but the correction is straightforward: use less pressure, less liquid, more drying time, and tools designed for vinyl. That routine keeps the collection cleaner while reducing avoidable wear.
Vinyl Cleaning and Maintenance FAQ
How often should vinyl records be cleaned?
Brush a record before playback whenever dust is visible. Deep-clean it when fingerprints, residue, or persistent noise appear, or after buying a used record. Frequently played records may need deep cleaning every one to three months, depending on storage and handling.
Can I clean vinyl records with water or household products?
Use only distilled or deionized water when a record-cleaning product calls for rinsing. Avoid household cleaners, tap water, paper towels, and unverified mixtures because they may leave mineral deposits, residue, or surface damage.
What is the best way to remove fingerprints from a record?
Use a vinyl-safe record-cleaning solution and a clean microfiber applicator. Wipe gently in the direction of the grooves, keep the label dry, remove any recommended residue, and allow the record to dry fully.
Should vinyl records be stored vertically or horizontally?
Store vinyl records vertically with firm support and modest spacing. This reduces pressure and helps prevent warping. Avoid tightly packed shelves, leaning records, and heavy horizontal stacks.
How should I clean a turntable stylus?
Turn off the turntable and use a dedicated stylus brush, moving from the rear of the cartridge toward the front. Do not brush sideways, touch the cantilever, or use household liquids unless the stylus manufacturer specifically approves them.